An instrument’s acoustic performance also depends to a considerable extent on the quality of its bow. Simple in outline, the bow is far from simple to make. Many factors contribute to a successful result, beginning with the careful selection of materials.
Logs of “Caesalpina Echinata” from Brazil are cut into Pernambuco boards, which are studied at length to make the best use of the grain.
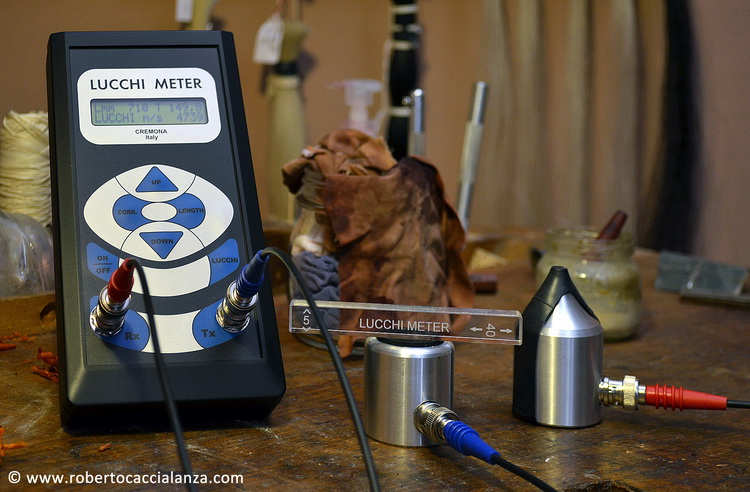
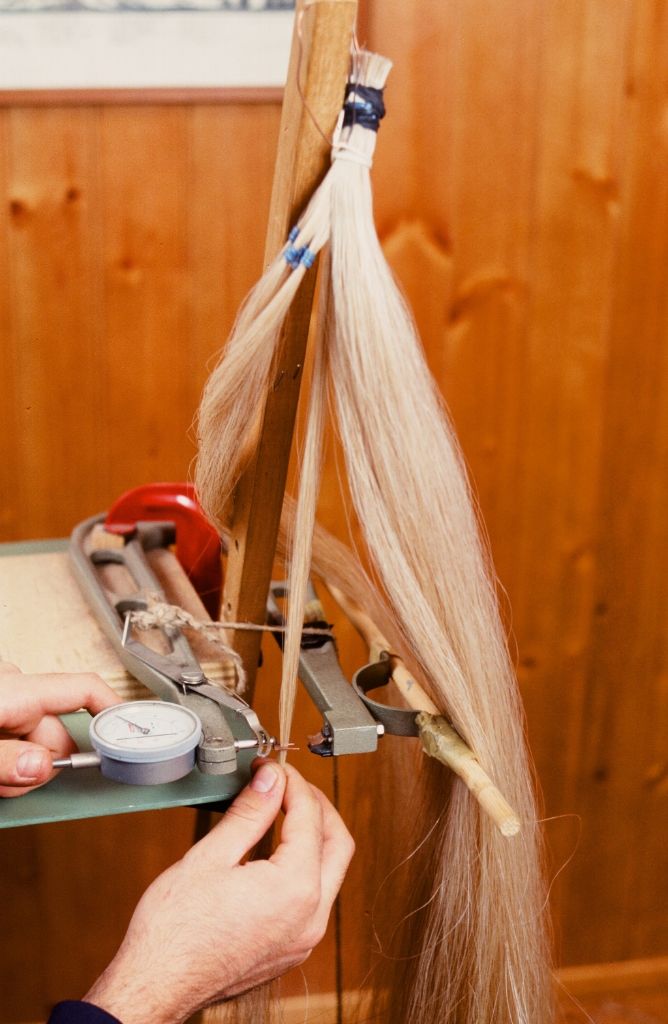
For more precise, repeatable, real-time measurements of the wood’s physical and acoustic characteristics, the LucchiMeter tester invented by Maestro Giovanni Lucchi is particularly useful.
The boards are cut into square-section sticks. Sticks with imperfections such as cracks, knots or cross-grain are rejected. Those whose appearance makes them best suited to bow making are selected.
Once the square-section stick is ready, rough shaping begins. The corners are planed away to turn the square section into an octagon, using special planes that each bow maker makes for their own use.
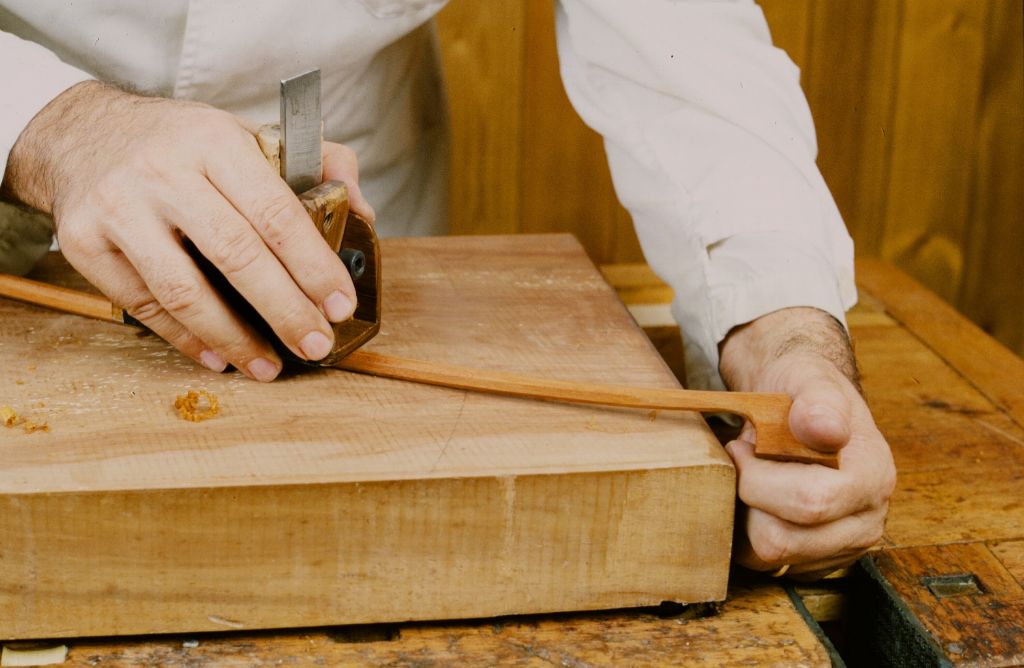
The wood is hard and dense, so it must be worked with a straight-bladed plane that acts as a guided scraper, a tool not readily available commercially.
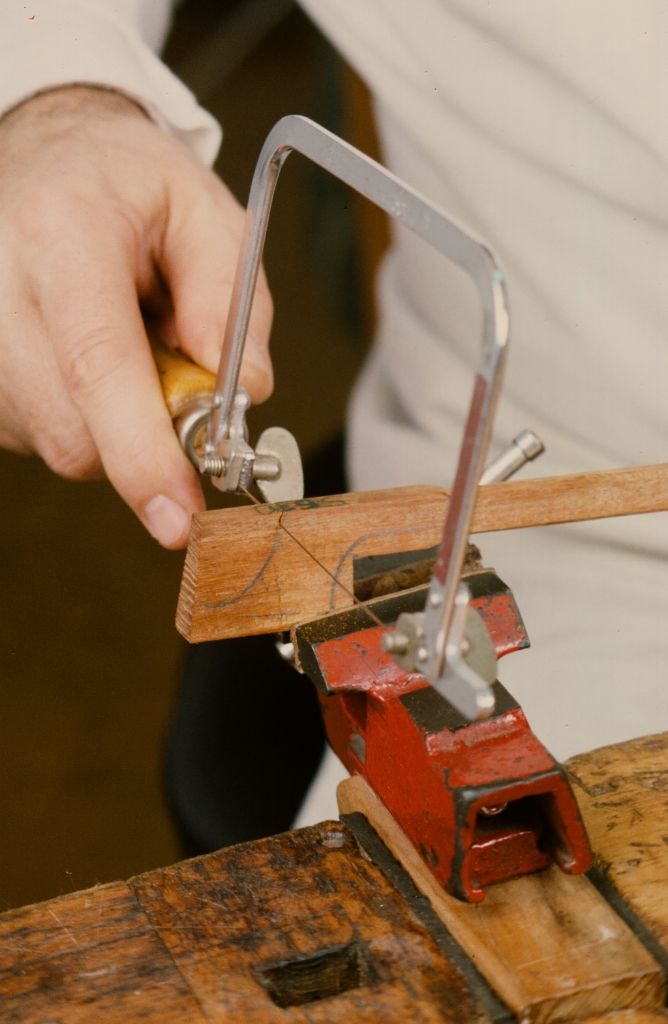
Shaping the tip, or bow head, begins by cutting out its profile with a fretsaw. This is a particularly important stage because the head’s final shape determines the appearance of the bow and expresses the maker’s style.
Work on the head is completed using a knife and small files.
With the head roughly shaped and a few extra millimetres of wood left for final finishing, the bow is ready to receive its camber.
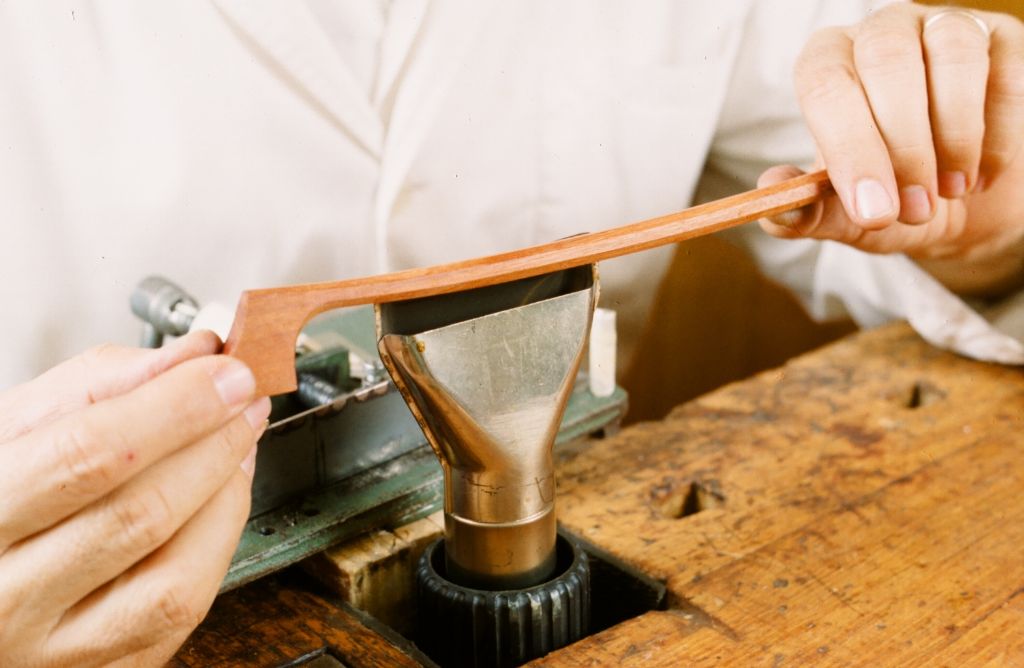
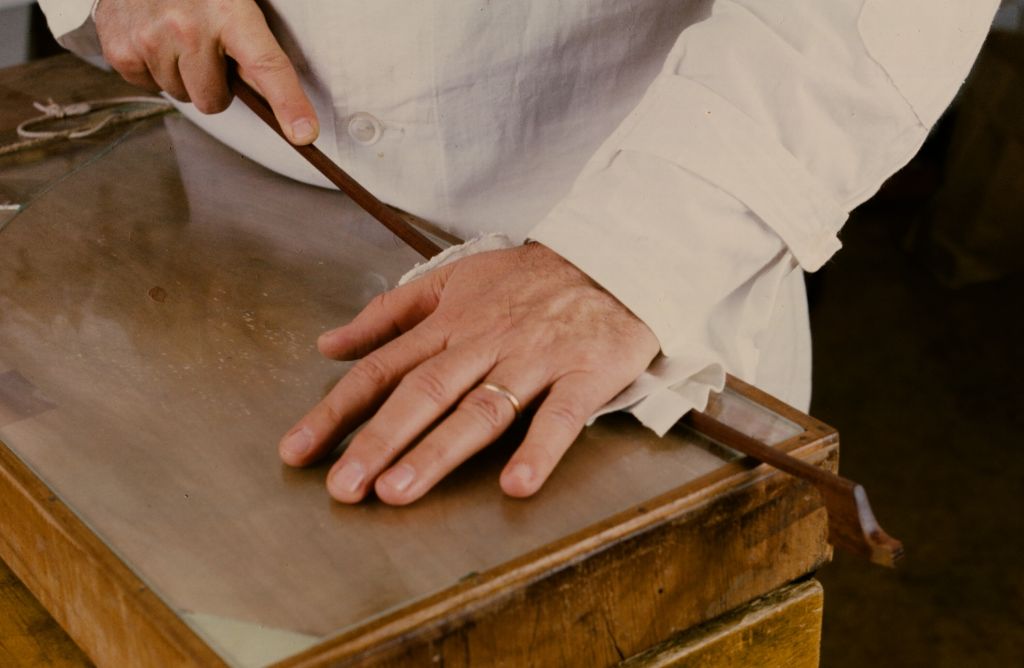
The camber is formed using heat. The stick is heated with careful control of the temperature: too much heat makes the wood soft and weak, while too little means it will not bend or will lose its curve over time. With considerable skill and the help of a curved-jaw vice, the maker gives the stick its camber. This must be assessed individually to obtain the best performance from each piece of wood, taking into account its strength, thickness and grain. A bow maker cannot simply make a mechanical copy of a valuable bow, reproducing its camber and thicknesses and expecting the same result. Camber depends on the maker’s sensitivity and experience. This operation exemplifies the craft process and distinguishes it from industrial production with standardised characteristics.
Once the bow’s general shape has been established, the other components are added.
We begin with the tip plate. This is a thin, well-finished plate with a raised edge at the end of the tip. It serves both an aesthetic purpose and as reinforcement for the bow head.
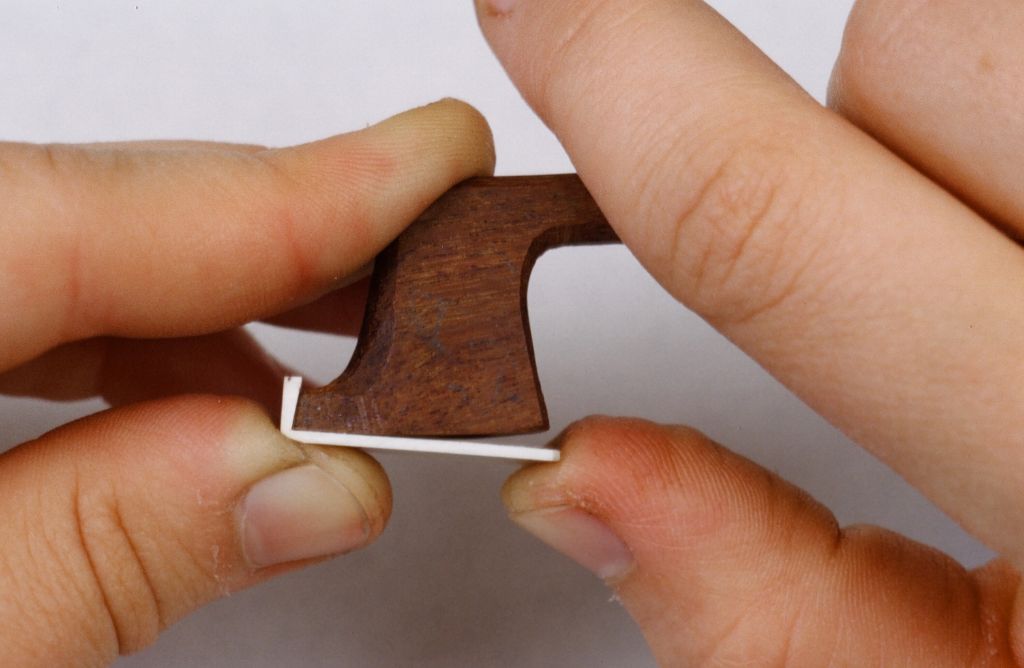
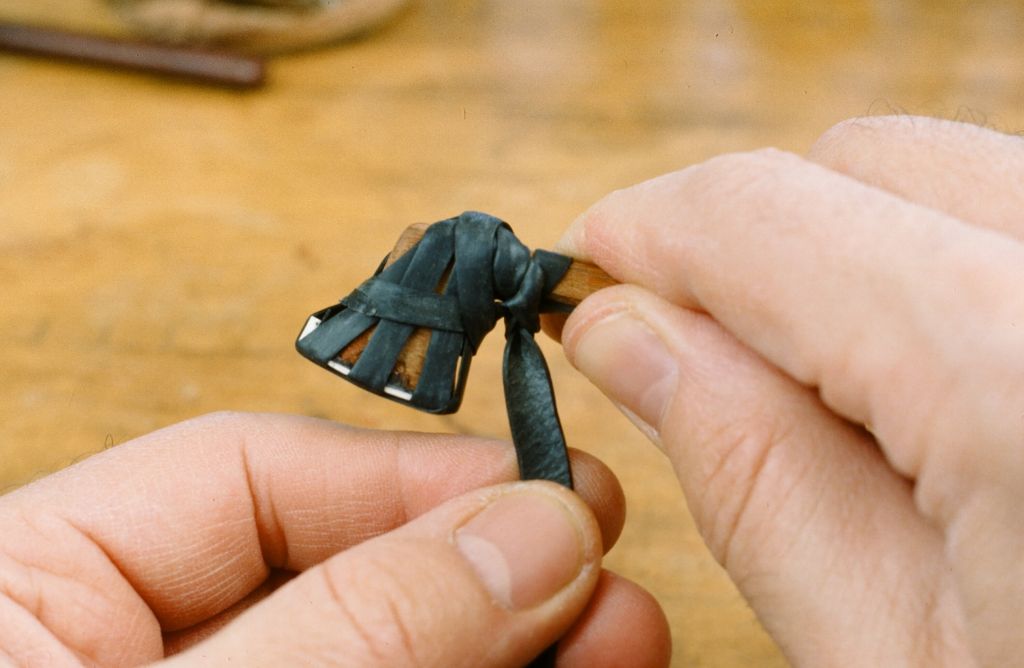
A very thin sheet of ebony or fibre is placed between the tip plate and the base of the head. The plate is glued in place and held with elastic bands. Once secure, it is finished with files until it fits the head perfectly.
The stick is secured in a guided vice at the base of a pillar drill, and the bow maker drills the screw hole at the heel.
The end of the bow is shaped with a file to accommodate an octagonal button in a precious metal such as gold, silver or nickel silver. It must fit perfectly to avoid splitting the bow under strain. Preparing the octagon at the heel is particularly important: three of its faces guide the frog and must fit it precisely.
The drill is also used to make the hair mortise in the bow head, which is finished internally with a chisel and externally with a file.
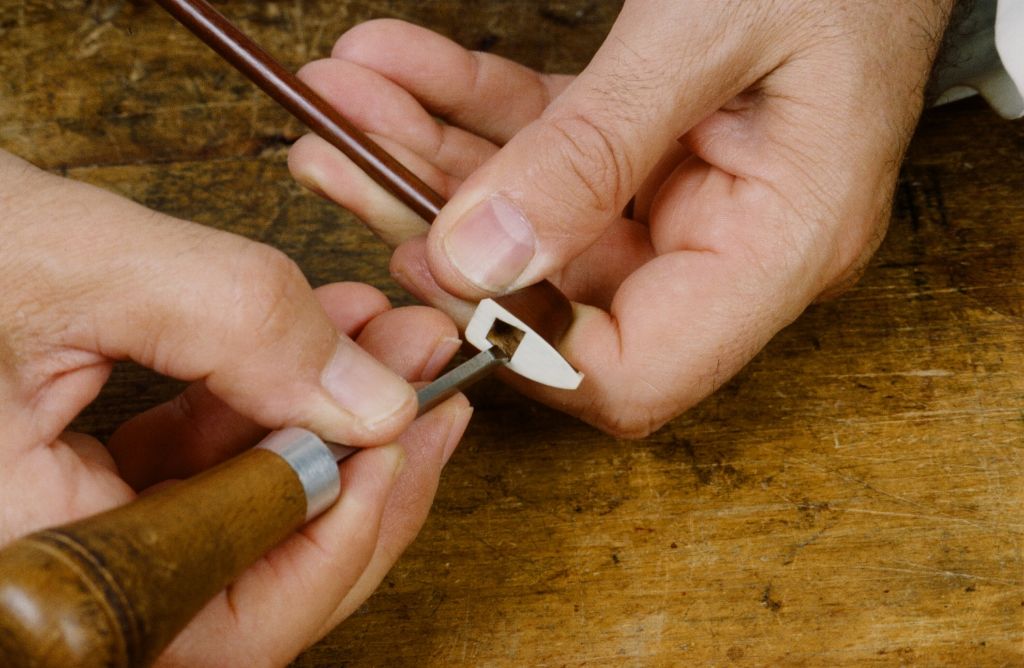
The mortise in the stick is also prepared and finished with files and chisels.
Another important component is the frog. Before fitting, it is worked with a knife and small file to match the bow perfectly. Frogs made with gold, silver, ebony and mother-of-pearl are finished individually on their own bows, so that they fit the octagonal stick and meet the maker’s preferences and requirements.
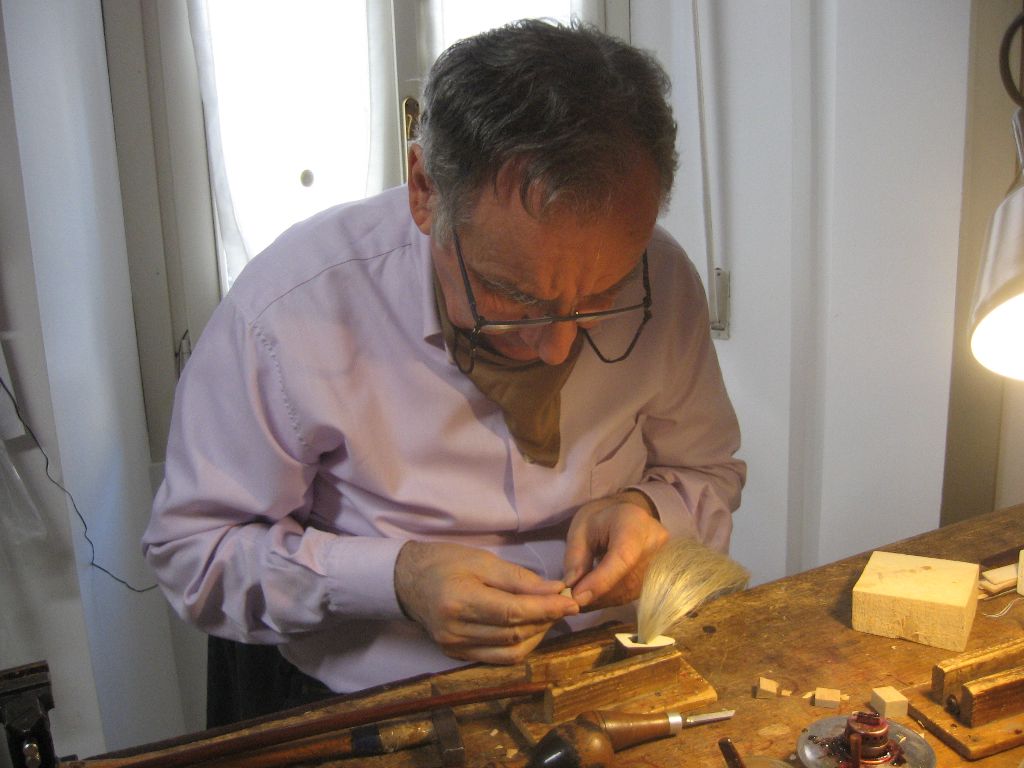
The bow is now ready for its hair. Blond horsehair is used; black hair is used only occasionally for double bass bows. The hair must be strong and elastic, without chemical bleaching. Bundles of different weights are prepared according to the instrument for which the bow is intended, then tied at one end with a fine but strong thread.
To prevent the knot from coming undone and the hair from slipping, the binding is impregnated with pitch heated over an alcohol burner.
The prepared bundle of hair is placed in the frog’s mortise and secured with a soft wooden plug of birch or lime.
The frog is placed on the stick, which is secured in a vice, and the hair is combed smooth and straight.
After measuring the bow’s length, the hair is tied at the other end in the same way. The ferrule is fitted and the hair, cut to length, is placed in the head’s mortise. After being combed again, it is secured with another wedge.
Once the stick’s fittings have been added, the maker returns attention to the bow itself. Its thickness is adjusted point by point, and it is finished with a plane to remove the extra few millimetres left before heat bending, together with any superficial scorching.
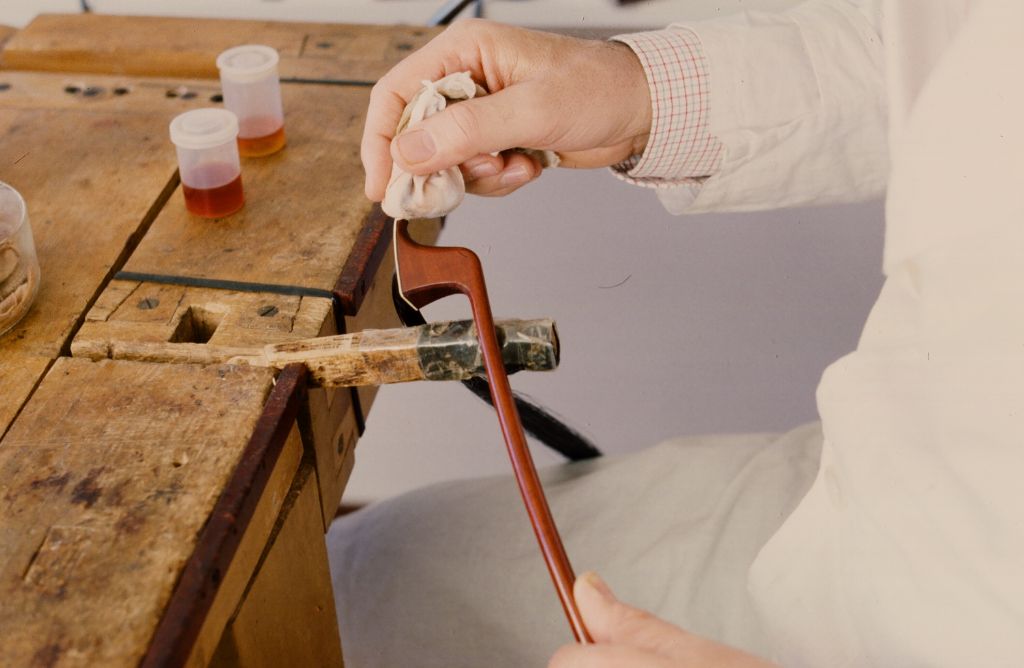
After checking the weight again, the bow is finished with progressively finer abrasives. A pad moistened with alcohol, shellac and oil polishes the wood and brings out its beauty and the depth of its medullary rays.
A heated stamp is used to brand the stick, usually with the bow maker’s name and town. (Photograph of the branding stage to be identified.)
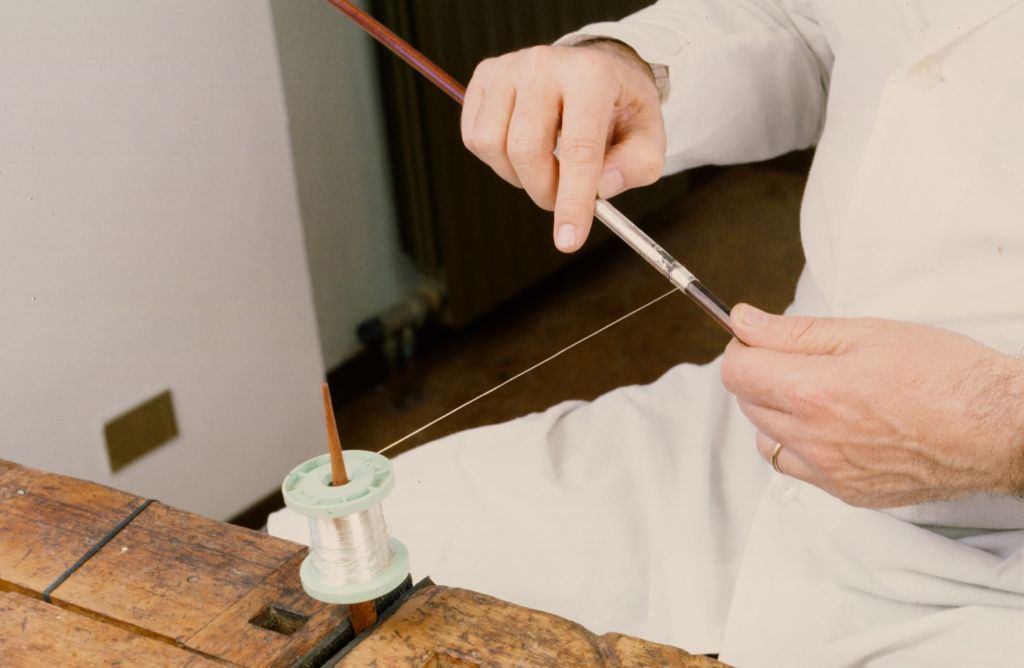
To protect the grip area from wear, the stick near the frog is usually wound with fine silver wire, partly covered in leather, which also helps the player hold the bow.
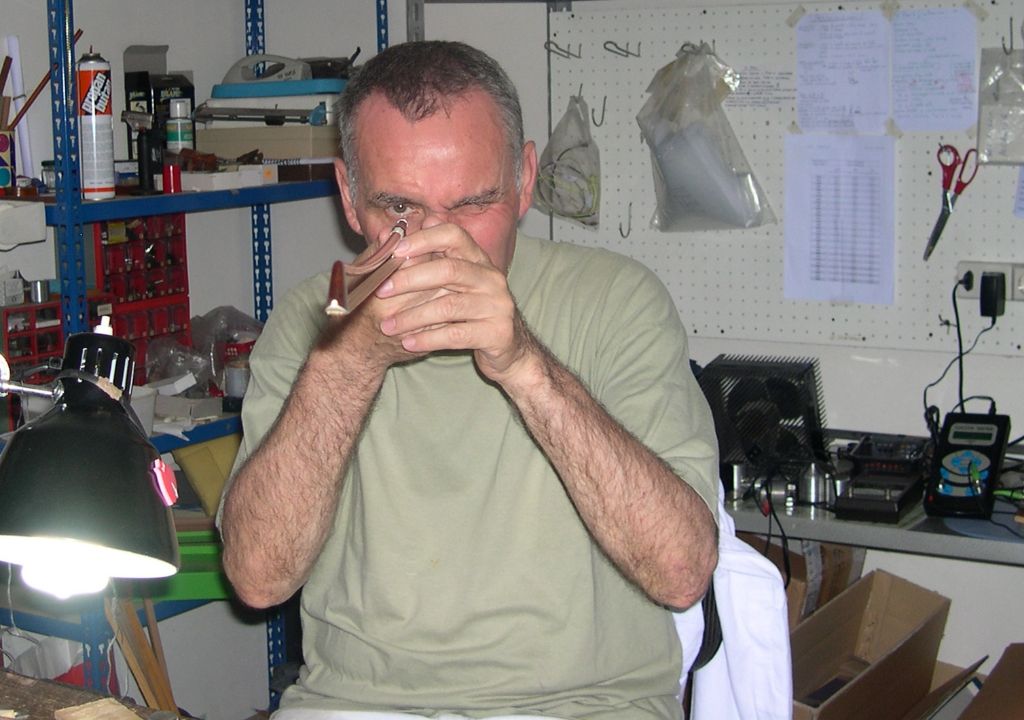
Finally, the bow maker checks the line of the stick for any imperfections in the camber and checks that the fittings function correctly.
The bow is now complete.